About Best High Tech Gadgets For Adults: Best High Tech Gadgets For Adults is your trusted source for cutting-edge technology insights and solutions. High Tech Gadget Reviews We provide reliable, well-researched technology content to keep you informed and help you make better decisions. This content focuses on The Next-Gen Gadget Guide: Cutting-Edge Tech for Everyday Life and related topics.


- 【New upgrade】:16PROMA X dual sim unlocked phone is GSM phone and using 5G, which have faster transmission speed, lower l…
- 【New upgrade】:Our New 16PROMA X unlocked phones up to 16GB+512GB large memory is enough for social apps, games, movies a…
- 【New upgrade】:Please note that the 16PROMA X is an android phone with a 6.99″ HD , bringing you a cinematic experience. …


- 【Snapdragon 888 flagship chip】 Unlocked phones equipped with the high-performance Snapdragon 888 processor, it can easil…
- 【16GB+512GB massive storage】xixaomiro L17 PROMAX Ultra equipped with 16GB running memory, switching between multiple app…
- 【5000mAh long-lasting battery life】The android 15 phones built-in 5000mAh large-capacity battery, long-lasting support f…


- 【Snapdragon8 Gen3 】unlocked Android cell phone powerful by Snapdragon8 Gen3+ 5G Octa-Core Processor, Up to 12GB RAM and …
- 【68MP+108MP+6.99″HD Screen】108MP main camera and a 68MP front facing camera,Equipped with extra-large 6.99″HD Screen Hig…
- 【Dual SIM and Global Band 5G Phone】Dual SIM & 3 Card Slots, I25 Ultra Smartphone adopts 2+1 card slot design, supports t…
Imagine a pocket-sized powerhouse gadget that does more than call and text—it reshapes your day. Modern cellphones are astonishingly versatile: foldable screens that expand into mini-tablets, blazing-fast 5G connectivity that makes streaming and cloud gaming effortless, and AI-assisted cameras that pick the best shot before you even blink. Pair that with true wireless headphones that cancel the world out and bring studio-quality sound in. Noise-cancelling tech has matured; transparent modes let you hear announcements without pausing a playlist. Spatial audio wraps music around you so podcasts, live sports, and symphonies feel alive. Together, phone and headphones form a personal entertainment and productivity suite you can carry anywhere.
Cameras and computers have shed their old limitations, too. Mirrorless cameras keep getting smaller while delivering cinematic depth and low-light magic once reserved for professionals. On-sensor autofocus and real-time subject tracking mean fewer missed moments. Meanwhile, computational photography—built into many phones and cameras—stitches, sharpens, and balances images automatically, turning casual snapshots into gallery-worthy frames.
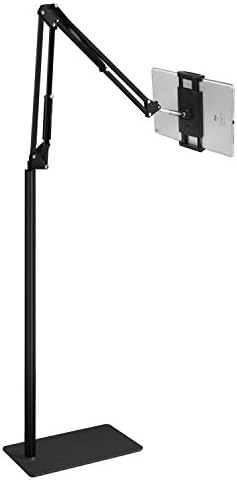
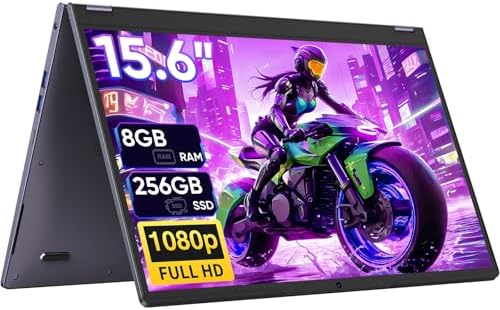
Computers are following suit. Lightweight laptops with long battery life no longer sacrifice performance. ARM-based processors and dedicated AI chips power faster photo editing, smarter multitasking, and on-device privacy features. Tablets bridge the gap between consumption and creation, with styluses that feel like pens and accessories that snap on to become full laptops. For creators and commuters alike, the right machine makes work feel less like work.


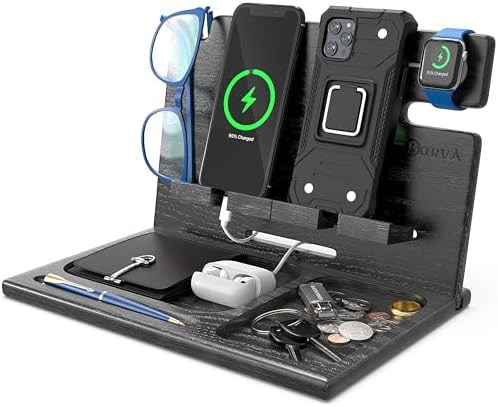
Your home is getting smarter, too—safely and seamlessly. Modern home security blends hardware with intelligence: video doorbells that recognize familiar faces, cameras that filter out false alarms caused by shadows or passing cars, and smart locks you can control with a tap or voice command. Integrations with your phone mean you can check who’s at the door from anywhere, grant temporary access to guests, and receive alerts only when something matters. Encryption and local processing options are becoming standard, helping keep your private life private.
But smart living goes beyond protection. Appliances are learning to anticipate your needs. Refrigerators with internal cameras tell you what’s inside while you grocery shop; ovens preheat themselves based on recipe steps; and washers select cycles according to fabric sensors. Energy-conscious features automatically schedule heavy-duty tasks for off-peak hours, lowering bills without lifting a finger. Robot vacuums have evolved from random bumping to methodical mapping; some even empty themselves and recharge for hands-off floor care.
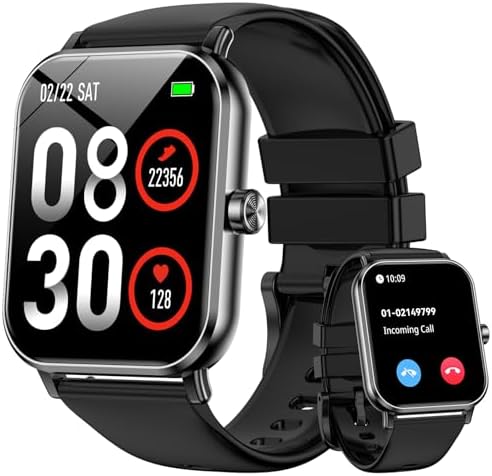
The real magic happens when these gadgets talk to each other. A phone can trigger a camera to start recording, while a smart display shows the feed and a smart speaker announces visitors. This ecosystem reduces friction—your devices learn your habits and subtly smooth your day.
Still, more tech means more choices. Prioritize gadgets that respect your privacy, get regular updates, and integrate with the systems you already use. Think longevity: modular or repairable designs pay dividends over impulse buys. Above all, pick tools that amplify what you love—whether that’s photography, productivity, safety, or simply more free time.
The future of everyday tech isn’t about gadgets for their own sake. It’s about smart, connected tools that shrink chores, expand creativity, and let you focus on life—while quietly doing the heavy lifting in the background.
Exploring the Latest Gadget Innovations
What services does Best High Tech Gadgets For Adults provide?
Best High Tech Gadgets For Adults provides practical technology solutions designed around customer needs. Our team focuses on clear communication, reliable support, and outcomes that help people make informed decisions quickly.
How can customers get help quickly?
Customers can contact our team directly for fast support, clear next steps, and timely follow-up. We prioritize responsiveness so questions are answered quickly and issues are resolved without unnecessary delays.
Why choose Best High Tech Gadgets For Adults over alternatives?
Customers choose us for trusted expertise, transparent guidance, and consistent results. We focus on practical recommendations, personalized service, and long-term relationships built on reliability and accountability.