- WIRELESS CONNECTION – Bluetooth allows for wireless pairing to your Nintendo Switch OLED, PC, Mobile, Smart TV, Steam De…
- DESIGNS – All designs are limited and collectible! Pairing with our mobile companion App allows you to tap your mobile d…
- HALL EFFECT THUMBSTICKS – Hall Effect sensor thumbsticks means no stick drift while guaranteeing precise & responsive co…

- 【Upgraded】Redesigned from the Ultimate C Series for enhanced tactility and responsiveness.
- 【Compatibility】Windows and Android.
- 【Extra Bumpers】Remappable R4 and L4 buttons for personalized configuration, no software needed.

- MODEL-ROCKET LAUNCH CONTROLLER: Estes rocket model kits require the right launch pad system for any single-engine or 2-e…
- PROTECTIVE 2-BUTTON ARMING SYSTEM: The 2-button arming and launch system prevents accidental launches by requiring both …
- IMPORTANT LAUNCH ACCESSORY: Rocket-launching accessories make educational Christmas gifts or stocking stuffer surprises!…
Best Rocket League Controller Settings: A Pro’s Guide to Ranking Up
Ever feel like your car is fighting you. You see the perfect aerial play, you jump, you boost. and your car spins out of control like a confused helicopter. Or maybe you whiff an easy save because your turn felt like it was stuck in mud.
It’s one of the most frustrating feelings in Rocket League, and it’s a wall that every player hits. But what if I told you the solution isn’t just about ‘getting good’—it’s about unlocking your car’s true potential. Finding the best rocket league controller settings for your playstyle is the single most impactful change you can make to climb the ranks, and it’s time to transform your game from clunky to clean.
This isn’t just about copying a pro player’s setup and calling it a day. It’s about understanding why their settings work and how you can build your own perfect configuration from the ground up. We’re going to break down every single slider, every button bind, and every hidden option to give you total control over your car. Get ready to feel faster, more precise, and more confident than ever before.
Let’s build your perfect setup.
Quick Summary
- Button Mapping is Key: The default controls hold you back. Moving Boost to R1/RB and Power Slide/Air Roll to L1/LB is the most critical change for enabling advanced mechanics like boosting while air rolling.
- Sensitivity is Personal: Most pros use a Steering and Aerial Sensitivity between 1.30 and 2.00. Start around 1.40 and adjust in small increments of 0.10 in Free Play to find what feels responsive but controllable.
- Lower Your Deadzone: A lower Controller Deadzone (around 0.05 to 0.10) makes your car react faster to small stick movements. Adjust your Dodge Deadzone higher (around 0.60 to 0.80) to prevent accidental backflips.
- Copy Pros as a Starting Point: Don’t just copy a pro’s settings blindly. Use them as a well-tested baseline, then spend time in Free Play and casual matches to tweak them until they feel perfect for you.
- Consistency is Everything: Once you find a setup that feels good, stick with it! Constantly changing your settings will destroy your muscle memory and stall your progress. Give yourself at least a week to adapt to any new configuration.
Why Your Controller Settings Are Your Secret Weapon

In a game decided by split-second reactions and micro-adjustments, your controller settings are the bridge between your brain and your car. Think of it like this: a professional race car driver wouldn’t use the stock steering and pedal setup from a street car. They customize everything—steering sensitivity, brake pressure, gear ratios—to match their driving style and gain a competitive edge. Rocket League is no different.
The default settings are designed to be accessible for brand-new players, but they are fundamentally limiting for anyone trying to climb past Gold. They make it physically impossible to perform multiple actions at once. Can you boost, jump, and air roll at the same time with the default layout. Not without contorting your hand into a painful claw shape.
This is where a custom Rocket League controller config becomes essential.
Optimizing your settings does more than just make the game feel better; it directly unlocks new mechanical possibilities. It allows for faster aerial takeoffs, more precise dribbling control, and quicker recoveries. It’s the foundation upon which all advanced mechanics are built. Before you can learn to ceiling shot or musty flick, you need a setup that allows your fingers to execute the commands instantly and intuitively.
This guide will give you that foundation.
The Foundation: Best Controller Layouts & Button Mapping
This is, without a doubt, the most important change you will make. Your button layout dictates what you can do simultaneously. The goal is to free up your right thumb from having to do everything (jump, boost, ball cam, powerslide) so you can focus on precise analog stick control. Let’s build the ultimate layout.
The Pro Standard: Moving Boost and Air Roll
The absolute gold standard for any serious player is to move Boost and Air Roll off the face buttons and onto the bumpers. Here’s the most common and effective setup:
- Boost: Move from Circle/B to R1/RB.
- Powerslide / Air Roll: Move from Square/X to L1/LB.
Why is this so powerful. It allows you to use your index fingers for boost and powerslide, freeing your right thumb to focus exclusively on jumping (X/A) and camera control (Triangle/Y). With this setup, you can now boost while simultaneously jumping and aiming your car with the analog stick—the three core components of an aerial play. It feels weird for the first few hours, but the long-term payoff is immense.
You’ll wonder how you ever played any other way.
Customizing Your Rocket League Controller Config for Your Playstyle
Beyond the basics, you can add dedicated Air Roll Left and Air Roll Right bindings for even more control. Many pros bind these to Square/X and Circle/B, respectively. This allows for perfect tornado spins and cleaner aerial maneuvers that are difficult with the standard Air Roll button.
Here is a fantastic starting template for a top Rocket League controller setup:
| Action | Recommended Binding (PS/Xbox) |
|---|---|
| Boost | R1 / RB |
| Jump | X / A |
| Powerslide / Air Roll | L1 / LB |
| Ball Cam | Triangle / Y |
| Air Roll Left | Square / X |
| Air Roll Right | Circle / B |
| Scoreboard | R3 (Right Stick Click) |
This layout is the pinnacle of efficiency. It minimizes finger travel and eliminates input conflicts. You have total control in the air and on the ground. Commit to this change, spend a few days in Free Play getting used to it, and your gameplay will elevate dramatically.

Dialing in Precision: Optimal Sensitivity Settings
If button mapping is the skeleton of your setup, sensitivity is the nervous system. These sliders determine how quickly your car reacts to your stick inputs, both on the ground and in the air. Finding the right balance is crucial for feeling both fast and in control.
Steering vs. Aerial Sensitivity: What’s the Difference?
It’s important to understand that these are two separate settings affecting different aspects of your control:
- Steering Sensitivity: This controls how quickly your car turns on the ground. A higher value means you’ll reach your maximum turn radius with a smaller movement of the analog stick. This is vital for sharp cuts, quick 180-degree turns, and effective dribbling.
- Aerial Sensitivity: This controls how quickly your car pitches, yaws, and rolls in the air. A higher value allows for faster aerial adjustments, helping you beat opponents to the ball and make last-second shot corrections.
For years, players kept these values at the default 1.0. However, the modern meta has shifted towards much higher sensitivities, as players realized it gives them a significant speed advantage. Keeping both sliders at the same value is generally recommended for consistency, so your car feels the same on the ground as it does in the air.
Finding Your Sweet Spot (1.30 to 2.00)
So, what numbers should you use? The vast majority of professional players set both their Steering and Aerial Sensitivity somewhere between 1.30 and 2.00. Anything below 1.30 can feel sluggish, while anything above 2.00 can feel overly twitchy and difficult to control.
- Start at 1.40: This is a fantastic middle ground that feels immediately more responsive than the default without being overwhelming.
- Adjust in Small Increments: Go into Free Play and hit the ball around. Does it feel too slow? Bump it up by 0.10. Too fast and uncontrollable? Lower it by 0.10.
- Test, Don’t Tweak Constantly: Find a value that feels good and stick with it for at least a week. Your muscle memory needs time to adapt. Constant tweaking will only hurt your consistency.
Ultimately, sensitivity is pure preference. Some pros, like Justin, have used sensitivities as high as 2.00, while others prefer a more controlled feel around 1.30. Experiment within this range to find what gives you the perfect blend of speed and precision.
Eliminating Stick Drift: Mastering Deadzone Settings

Deadzone is one of the most misunderstood but critical settings. It essentially creates a small “dead zone” around the center of your analog stick where no input is registered. This is crucial for preventing unwanted car movements from a worn-out or highly sensitive controller, but it also impacts how responsive your car feels.
Controller Deadzone: The Key to Accuracy
Your Controller Deadzone determines how far you have to move your analog stick from the center before your car starts turning. A higher deadzone means you need to move the stick more, which can feel unresponsive. A lower deadzone makes your car react to the tiniest movements, offering incredible precision but risking accidental turns if your controller has any stick drift.
The sweet spot for most players is between 0.05 and 0.10. This provides a highly responsive feel without picking up phantom inputs from most controllers.
Pro Tip: To find your perfect deadzone, go into a replay or Free Play and don’t touch your controller. If your car or camera is slowly moving on its own, your deadzone is too low. Increase it by 0.01 until the movement stops. That’s your ideal minimum deadzone!
Dodge Deadzone: Preventing Accidental Flips
This setting is completely different and incredibly important. The Dodge Deadzone determines how far you have to push the analog stick in a direction before a second jump input registers as a dodge (or flip) instead of a double jump. If you’ve ever gone for a fast aerial and accidentally backflipped, your Dodge Deadzone was likely too low.
A higher value here is generally better. Most pros set this between 0.60 and 0.80. This gives you a large window to perform a double jump for a fast aerial without accidentally flipping. It makes your movements more intentional and cuts down on frustrating mechanical errors.
Set it to 0.70 and you’ll immediately notice fewer accidental flips.
To Shake or Not to Shake? The Vibration Feedback Debate
Controller vibration is a feature that divides the community, but the competitive consensus is quite clear. While it can feel immersive to feel the rumble of your engine or the impact of a demolition, it offers very little competitive advantage and can actually be a detriment.
The main argument for vibration is tactile feedback. Some players claim it helps them feel when they’ve landed perfectly or when their boost is active. However, these are things you should be sensing through visual and audio cues anyway. The slight shaking of the controller can introduce tiny inconsistencies into your fine motor control, especially during delicate aerial maneuvers or dribbles.
Furthermore, vibration drains your controller’s battery life significantly faster. For these reasons, the overwhelming majority of professional and high-level players turn vibration off. The consensus is that the potential for distraction and minor input interference outweighs any perceived benefit. Our recommendation.
Disable it. Your hands (and your battery) will thank you.
Pro-Level Performance: A Top Rocket League Controller Setup
Now that we’ve covered the individual components, let’s put it all together into a cohesive, pro-level setup. This is a configuration that synthesizes the most popular and effective settings used at the highest levels of play. It’s designed for maximum mechanical freedom and precision. Remember, this is a starting point—tweak it to fit your personal comfort.
Pro Template Settings:
- Steering Sensitivity: 1.40
- Aerial Sensitivity: 1.40
- Controller Deadzone: 0.05
- Dodge Deadzone: 0.70
- Vibration: Disabled
- Button Binds: Boost on R1/RB, Powerslide/Air Roll on L1/LB
This setup is the perfect launchpad. It’s fast but controllable, precise but forgiving. It incorporates the button bindings that unlock your mechanical ceiling and the deadzone settings that prevent common errors. Of course, a perfect setup is only half the battle.
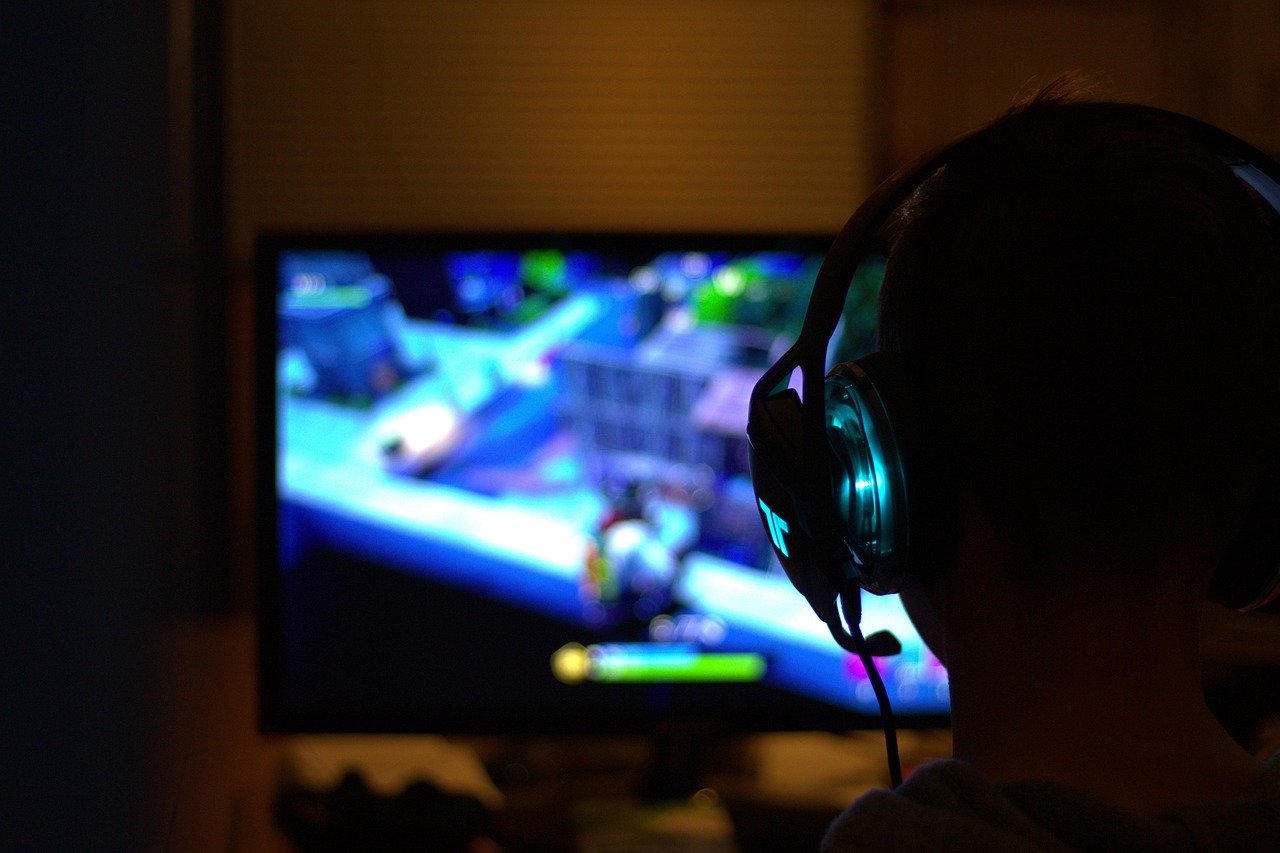
To truly perform at a competitive level, your hardware needs to keep up. Consistent, high frame rates are non-negotiable. A powerful gaming rig from a builder like ORIGIN PC ensures you’re getting a stable 240+ FPS, making your inputs feel incredibly responsive. Paired with great audio from a headset like those from BASN Audio to hear opponent movements, you create an environment where your settings can truly shine.
Your Personal Lab: How to Test and Fine-Tune Your Settings
Finding the best controller settings for Rocket League is a journey, not a destination. Copying a pro’s setup is a great start, but the final 10% of optimization comes from personal testing and adjustment. Here’s a step-by-step process to create a configuration that feels like an extension of your own hands.
- Establish Your Baseline: Start with the pro template outlined above. This gives you a solid, well-tested foundation to build upon.
- Enter the Lab (Free Play): Free Play is your best friend. Spend at least 30 minutes just hitting the ball. Don’t worry about scoring goals or doing anything fancy. Just focus on how the car feels. Is turning sharp? Are aerials responsive? Is it comfortable?
- Tweak One Thing at a Time: Don’t change your sensitivity, deadzone, and button binds all at once. If your aerials feel a bit slow, increase Aerial Sensitivity by 0.10. If you’re getting stick drift, increase Controller Deadzone by 0.01. Isolate one variable, test it, and see how it feels before changing anything else.
- Run the Gauntlet: Once it feels good in Free Play, take it into casual matches. The pressure of a real game is the ultimate test. Pay attention to moments where you feel like you lost control. Was it an accidental backflip? Maybe your Dodge Deadzone needs to be higher. Did you get beat to the ball in the air? Maybe your sensitivity could be a touch faster.
- Be Patient and Commit: This is the most important step. Once you find something that feels 95% right, stop tweaking. You need to give your brain and hands time to build muscle memory. Commit to a setup for at least one to two weeks of consistent play. The initial awkwardness will fade, and true control will begin to set in.
This process takes time, so get comfortable. Long sessions are often needed to truly feel out a new setup. Investing in an ergonomic gaming chair from a brand like Secretlab or TechniSport can make a huge difference in maintaining focus and avoiding discomfort during these crucial tuning sessions.
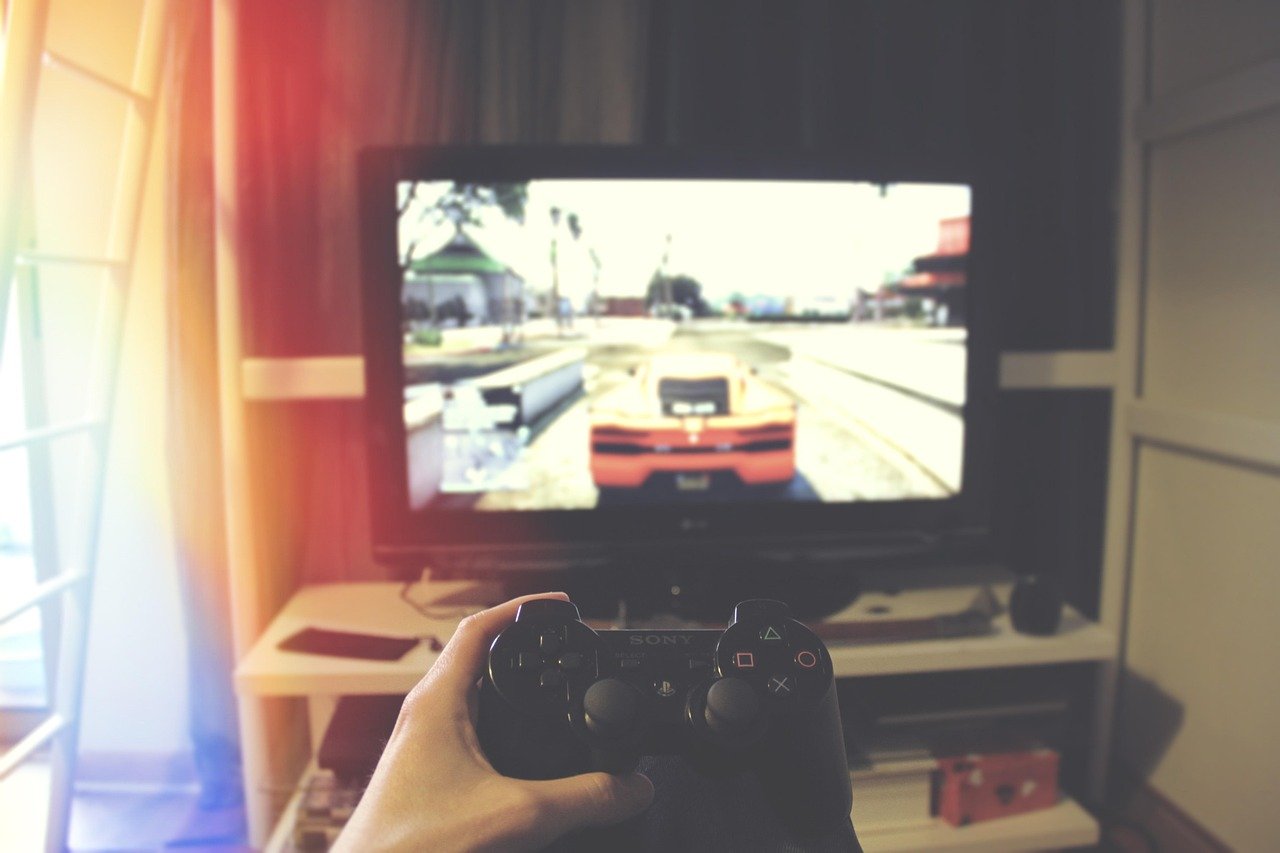
Does Your Controller Matter? How Hardware Influences Play
While settings are paramount, the physical controller you use does have an impact on performance. Different controllers have unique stick tensions, button feels, and input latency, which can influence how your settings translate to the game.
- PlayStation Controllers (DualShock 4 / DualSense): A favorite among many pros like Zen. The symmetrical analog stick layout is preferred by many for its consistency. The DualShock 4 is particularly lauded for its low input lag and reliable build quality. The DualSense (PS5) is also excellent, though slightly larger.
- Xbox Controllers: Known for their comfortable, ergonomic shape and offset analog sticks. Some players find the offset layout more natural for their thumbs. They are durable and reliable, though some versions have historically had slightly higher input latency than their PlayStation counterparts, a difference that is negligible for 99% of players.
- Pro Controllers (SCUF, Battle Beaver, etc.): These are modified versions of standard controllers that offer features like back paddles, trigger stops, and customizable stick tension. Back paddles are the main draw, as they allow you to map actions like Jump or Boost to the back of the controller, freeing up your face buttons even further. They are a luxury, not a necessity, but can provide a slight competitive edge.
Ultimately, the “best” controller is the one that feels most comfortable in your hands. There are pros at the top of the world using every type of controller imaginable. Don’t feel pressured to buy an expensive pro controller; mastering your settings on a standard PS or Xbox controller will take you further than any fancy hardware ever could.
The Ultimate Showdown: Controller vs. Keyboard and Mouse
The age-old debate: which input method is superior for Rocket League? While a small, dedicated group of players excel on keyboard and mouse (KBM), the overwhelming evidence points to the controller as the optimal choice for this game.
The Case for Keyboard and Mouse:
KBM offers a few distinct advantages. It allows for more directional air roll options, as you can bind separate keys for every possible movement. This makes certain mechanics, like stalls, significantly easier to execute. The digital nature of key presses can also feel more immediate for some actions.
The Case for Controller:
The controller’s biggest advantage is the analog stick. Steering and throttle control in Rocket League are not binary; they require nuanced, 360-degree input. An analog stick provides a level of precision in turning and aerial adjustment that is simply impossible to replicate with the eight directions offered by WASD keys. This is why virtually every single professional Rocket League player—over 99% of them—uses a controller.
While you can certainly reach a high rank on KBM, you are arguably putting yourself at a slight disadvantage in the fine-control department. If you’re serious about competitive play, learning to use a controller is the recommended path.
Frequently Asked Questions
What are the best controller settings for Rocket League?
The best settings are personal, but a fantastic starting point is: Steering/Aerial Sensitivity around 1.40, Controller Deadzone at 0.05, Dodge Deadzone at 0.70, and Vibration off. Most importantly, rebind Boost to R1/RB and Powerslide/Air Roll to L1/LB to unlock your mechanical potential.
What settings do pros use in Rocket League?
Pros use a wide variety of settings, but almost all of them share key principles. They use high sensitivities (1.30-2.00), low controller deadzones (0.05-0.10), and custom button bindings with boost and air roll on the bumpers. They also universally turn off camera shake and vibration for a cleaner, more consistent experience.
What sensitivity do RL pros use?
Most Rocket League pros use a sensitivity between 1.30 and 2.00 for both steering and aerials. This range provides a significant speed boost over the default 1.0 setting, allowing for faster aerials and quicker turns. A good middle ground to start with is 1.40 and adjust from there based on personal comfort.
Do RL pros use controllers?
Yes, overwhelmingly so. Over 99% of professional Rocket League players use a controller. The analog sticks provide superior 360-degree control for steering and aerial adjustments, which is considered essential for playing at the highest level. The PlayStation DualShock 4 and DualSense are among the most popular choices.
How to get better aim in Rocket League?
Improving aim (or accuracy) comes from a combination of optimized settings and practice. Lowering your controller deadzone to around 0.05 makes small adjustments more responsive. Finding a comfortable sensitivity you can control is also key. Most importantly, spend time in custom training packs specifically designed for shooting accuracy to build muscle memory.
What settings does Zen use?
As of late 2025, the prodigy Zen is known to use a PlayStation 5 DualSense controller with fairly high sensitivity, typically around 1.70 for both steering and aerial. His deadzone is very low, around 0.05, and he uses a custom button layout with Air Roll Left and Right bound to the face buttons. Keep in mind that his settings change, and what works for him may not work for you.
Should I use ball cam in Rocket League?
Yes, you should be in Ball Cam for about 90-95% of the game. It’s essential for maintaining awareness of the play and positioning yourself correctly relative to the ball. You should only switch to Car Cam briefly to line up for a boost pad, check an opponent’s position for a demolition, or when dribbling the ball on top of your car.
Final Thoughts: Your Path to Mechanical Mastery
You now have the blueprint for a complete controller overhaul. We’ve deconstructed every setting, from the game-changing button binds to the nuanced deadzone sliders. You understand the why behind the pro-level configurations and have a clear, actionable plan to discover your own perfect setup. This is your ticket to breaking through plateaus and unlocking a new level of mechanical skill.
Remember that this is a process. Be patient with yourself, especially when learning new button layouts. The initial discomfort is temporary, but the skill ceiling you unlock is permanent. Get into Free Play, start experimenting, and commit to your new setup.
The fluid, precise, and dominant player you want to be is just a few settings away.