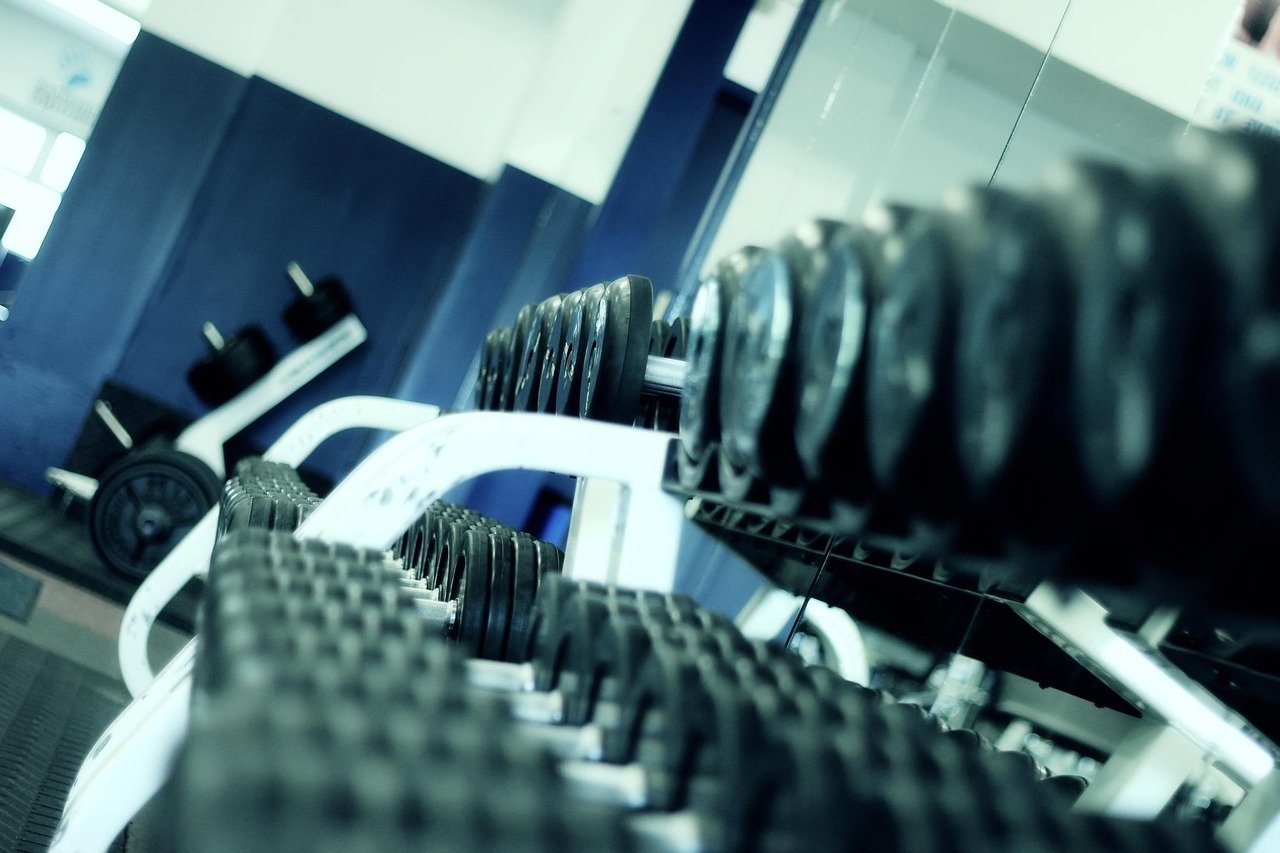
- INDEPENDENT DUAL PULLEY SYSTEM: The power cage features an innovative independent dual pulley system with a 1:1 weight r…
- 10-IN-1 HOME GYM: This versatile fitness solution integrates ten essential functions: squat rack, cable crossover, lat p…
- SPACE-SAVING EFFICIENCY: Designed for optimal space utilization, the innovative frame resembles a half rack, requiring n…

- Independent Dual Pulley System: Power cage with pulley system features dual independent 1:1 ratio pulleys on each side. …
- 10-in-1 Power Rack: This squat rack for home gym combines 10 workout stations, including bench press rack, cable crossov…
- Space-Saving Rack Design: Compact power rack with pulley system reduces floor space by nearly two-thirds vs traditional …
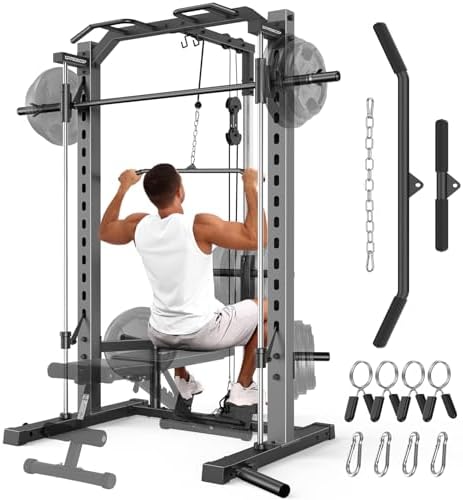
- 【Upgraded Home Smith Machine】The smith machine is made of high-quality commercial-grade steel, featuring precise laser c…
- 【All-In-One Smith Machine】OPPSDECOR pro smith machine can meet all your needs in home gym. It is combined with power cag…
- 【Precision and Durable Pulley System】The pulley system features precision bearing pulleys and reliable cables, ensuring …
Fitness Gear Squat Rack Buying Guide: How to Choose for Your Home Gym
Ready to transform your home workouts and build serious strength. The single most important piece of equipment you can own is a high-quality fitness gear squat rack. This isn't just a frame for holding a barbell; it's the heart of a home gym, a hub for countless exercises, and your ultimate partner in safety and progression. It’s the foundation upon which you can build the physique and strength you’ve always wanted, right from the comfort of your own space.
Forget crowded gyms and waiting for equipment—your journey to peak fitness starts here.
This guide is your roadmap to navigating the world of squat racks. We'll break down everything from the different types and essential safety features to the best accessories and exercises that go way beyond the squat. Get ready to feel empowered, informed, and incredibly excited to choose the perfect centerpiece for your fitness sanctuary!
What You'll Learn
- Types of Racks: The key differences between power racks, half racks, and squat stands, and how to choose the right one for your space and goals.
- Safety is Paramount: Non-negotiable safety features and practices to ensure you can lift heavy and push your limits with complete confidence.
- Budgeting Wisely: How to understand squat rack prices and find the best value without compromising on quality or safety.
- Beyond the Squat: A squat rack is a full-body workout station. We'll show you how to use it for presses, pulls, and a huge variety of other powerful exercises.
- Essential Accessories: Discover the must-have add-ons that will turn your squat rack into a complete, all-in-one home gym.
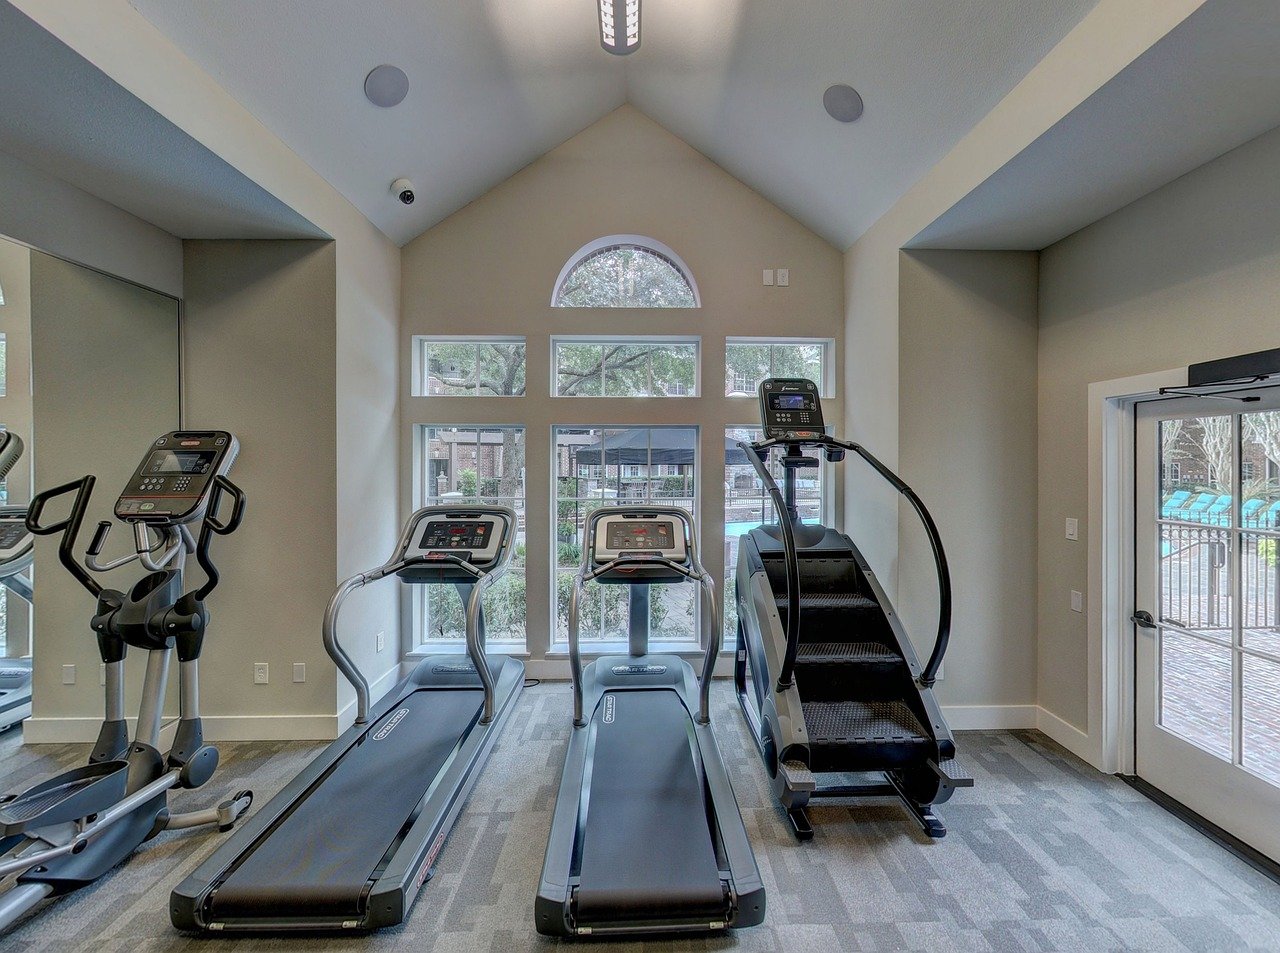
The Game-Changing Benefits of a Home Squat Rack

Bringing a squat rack into your home is about so much more than just convenience. It fundamentally changes how you can train, unlocking new levels of strength, safety, and consistency that are difficult to achieve otherwise. It’s the difference between just “working out” and truly training with purpose.
First and foremost is safety. A quality squat rack comes with adjustable safety bars (also called spotter arms or pins). These act as your personal, 24/7 spotter. Want to push for one more rep on the bench press or squat but aren't sure you can make it.
The safety bars will catch the weight if you fail, allowing you to push your limits confidently and without fear of injury. This safety net is absolutely crucial for anyone training alone.
Next up is versatility. While it's called a “squat” rack, its capabilities are immense. It’s the central station for the most effective strength-building exercises on the planet: back squats, front squats, bench presses, overhead presses, rack pulls, and more. With a few key accessories, it becomes an all-in-one gym squat rack, allowing you to perform pull-ups, dips, and dozens of other movements.
This single piece of equipment enables a true full-body workout routine.
Finally, a squat rack facilitates progressive overload, the core principle of getting stronger. Having a stable and secure platform allows you to systematically add weight to the bar over time. You can precisely control your starting position and movement path, ensuring your form is consistent as you get stronger. This structured progression is the fastest and most reliable way to build muscle and increase your strength.
Types of Squat Racks: Finding Your Perfect Match
Not all squat racks are created equal! The right choice for you depends on your budget, available space, and training goals. Let's break down the most common types of squat rack equipment so you can find your perfect fit.
Power Racks (Full Cages)
A power rack, or full cage, is a four-post steel cage that you stand inside to perform exercises. This is the gold standard for safety and stability. The four uprights provide an incredibly secure frame, and the safety pins run through the cage, offering the highest level of protection if you fail a lift.
- Pros: Maximum safety, extremely stable, high weight capacity, and often comes with a built-in pull-up bar and numerous attachment points for accessories.
- Cons: Largest footprint, typically the most expensive option, and can feel slightly restrictive to some users.
- Best For: Serious lifters, anyone who trains alone with heavy weights, and those with a dedicated space for a home gym.
Half Racks
A half rack features two upright posts connected by a base, creating a more open design than a full cage. They still offer excellent safety with adjustable J-cups to hold the bar and spotter arms that extend forward. They strike a fantastic balance between safety, functionality, and space-saving design.
- Pros: Smaller footprint than a power rack, feels less confined, very stable, and still supports heavy lifting and a wide range of accessories.
- Cons: Spotter arms are external (cantilevered) which some feel is slightly less secure than the internal pins of a power rack.
- Best For: Most home gym owners who want great safety and versatility without dedicating as much space as a full cage requires.
Squat Stands
A fitness squat stand consists of two independent, adjustable uprights that are not connected, or are connected only by a low base brace. They are the most minimalist and portable option. While they are great for squats and presses, they typically offer less stability and lower weight capacities than racks.
- Pros: Most affordable, smallest footprint, and easy to move and store.
- Cons: Less stable, lower weight capacity, and often lack integrated safety spotter arms (though some models have them). Not ideal for bench pressing alone.
- Best For: Beginners, those with very limited space or budget, or anyone who needs a portable solution.
Wall-Mounted Racks
These innovative racks attach directly to the studs in your wall. Many models can be folded inward or outward to sit nearly flush against the wall when not in use, making them an incredible space-saver. When folded out, they function much like a half rack.
- Pros: The ultimate space-saving design, very stable when properly installed, and offers great functionality.
- Cons: Requires permanent installation into wall studs, which may not be an option for renters. Installation can be more complex.
- Best For: Anyone with a garage gym or a room where floor space is at a premium.
Setting Up Your Fitness Squat Stand for Success
Once you've chosen your rack, setting it up correctly is crucial for both safety and effectiveness. An improper setup can be dangerous and limit your workout potential. Follow these steps to get it right.
First, choose the right location. You need a level, solid surface—concrete garage floors are ideal. Avoid placing a heavy rack on uneven ground or a floor that can't support the combined weight of the rack, you, and your loaded barbell. Ensure you have enough clearance overhead for exercises like pull-ups and overhead presses, and ample space on all sides to load plates and move around freely.
Assembly comes next. Always follow the manufacturer's instructions to the letter. This isn't the time for shortcuts. Use the provided hardware and tighten all nuts and bolts securely.
It's often helpful to have a second person to help hold the large pieces in place. Once assembled, double-check every connection before you even think about loading it with weight.
Finally, learn how to set the J-cups and safety arms properly for each exercise. For squats, the J-cups should be set just below shoulder height, so you only need to perform a slight dip to un-rack the bar. The safety arms should be set just below the lowest point of your squat. This way, if you fail, you can safely lower the bar onto the arms without getting pinned.
For the bench press, the safety arms should be set just above your chest when you have a slight arch in your back. This allows the bar to touch your chest but will catch it before it can crush you.
Pro Tip: Use a level during assembly and placement to ensure your rack is perfectly balanced. A rack that leans even slightly can cause the barbell to roll, creating a significant safety hazard during heavy lifts.
Squat Rack Safety: Your Non-Negotiable Checklist

Your squat rack is your greatest safety tool, but only if you use it correctly. Adhering to a few simple rules will ensure you can train hard while minimizing risk. Think of this as your pre-lift ritual.
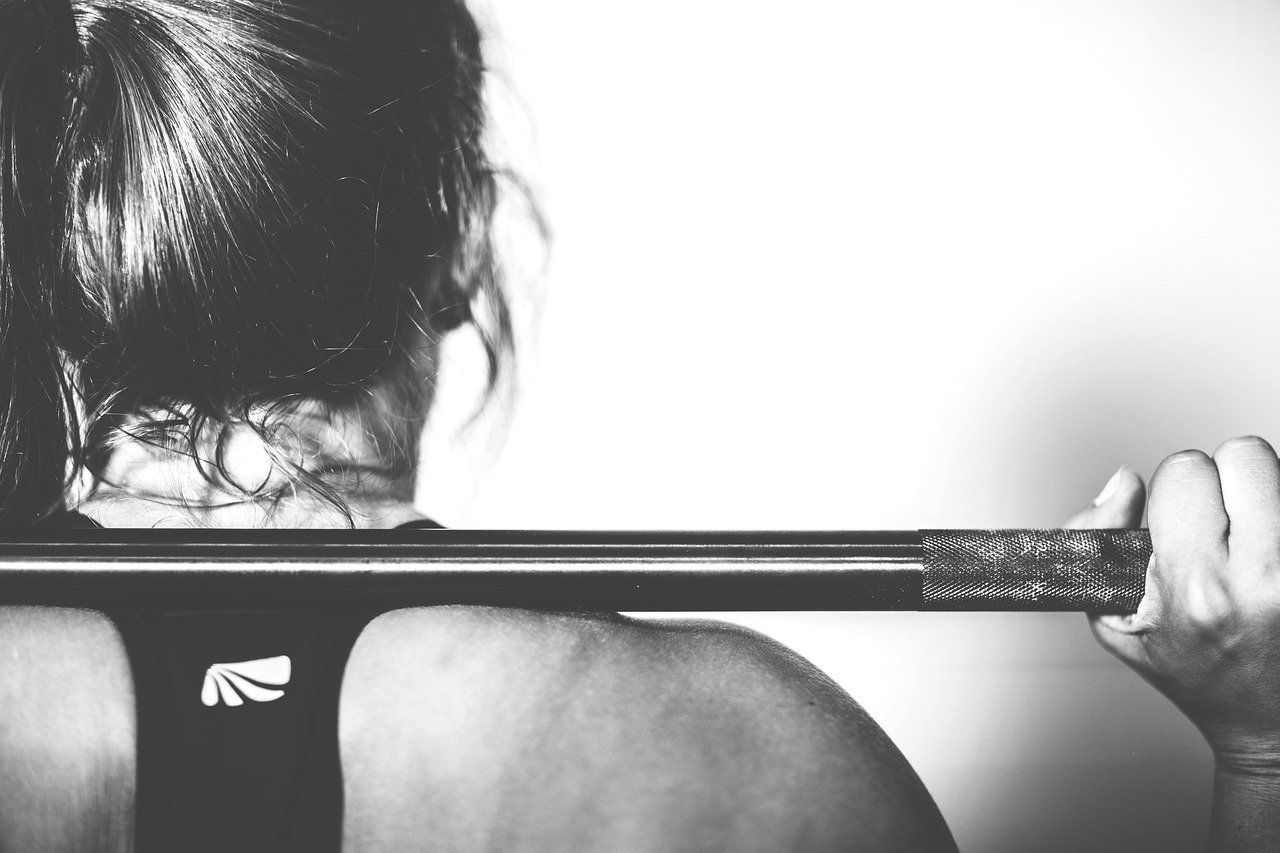
1. Always Use the Safety Bars: This is the number one rule. It takes just a few seconds to set the safety pins or spotter arms to the correct height, and it can save you from serious injury. Set them for every single working set, whether it's squats, bench press, or overhead press.
There are no excuses for skipping this step, especially when training alone.
2. Master Your Form First: Before you start piling on the weight, perfect your technique with an empty barbell or light weights. A squat rack won't protect you from injuries caused by poor form, like back strain or joint pain. Watch videos, read guides, or even hire a coach for a session to ensure your movement patterns are correct.
Your long-term progress depends on this solid foundation.
3. Know How to Bail: Even with safety bars, you should know how to safely exit a failed lift. For a back squat, if you get stuck at the bottom, you should simply stay tight and lower the bar down onto the safety arms behind you before moving out from under it. For a bench press, the safety arms will catch the weight, allowing you to slide out from under the bar.
Practice bailing with an empty bar so it becomes second nature.
4. Secure the Area: Keep the space inside and around your gym squat rack clear of clutter. Dumbbells, plates, water bottles, and anything else on the floor can become a tripping hazard. A clear space allows you to focus completely on your lift and move freely without worrying about your footing.
Top Brands to Trust for Squat Rack Equipment
When you're investing in a piece of equipment that will support hundreds of pounds above your body, brand reputation and quality matter. While there are many companies out there, a few have consistently earned the trust of the home gym community for their durability, design, and customer service.
Rogue Fitness: Often considered the top-tier brand in the strength equipment world, Rogue is known for its American-made, bomb-proof construction. Their racks are incredibly overbuilt, feature precise hole spacing (Westside spacing) for perfect adjustments, and have a massive ecosystem of compatible accessories. They come at a premium price, but you're paying for lifetime quality.
REP Fitness: REP has become a major competitor to Rogue by offering high-quality, feature-rich racks at a more competitive price point. They are known for their excellent value, offering many of the same features as premium brands—like laser-cut numbers and a wide variety of attachments—without the premium cost. Their racks are a fantastic choice for most home gym owners.
Titan Fitness: Titan is the go-to brand for budget-conscious lifters. They offer racks that are heavily inspired by designs from more expensive brands but at a fraction of the price. While the fit and finish might not be as pristine as Rogue or REP, their products are functional and strong, providing a safe and effective option for those looking to build a home gym without breaking the bank.
Fitness Gear: Often found at major sporting goods retailers, Fitness Gear provides accessible and reliable options for beginners and intermediate lifters. Their racks, like the popular Pro Half Rack, offer a great entry point into serious strength training with solid construction and essential features needed for a safe and productive workout.
Budgeting for Your Gym Squat Rack: Price vs. Quality
Squat rack prices can range from a couple of hundred dollars to several thousand. Understanding what you get at different price points will help you make an informed decision that balances your budget with your long-term fitness goals.
Entry-Level ($200 – $500): In this range, you'll primarily find squat stands and basic half racks. The steel used might be a lighter gauge (e.g., 12 or 14-gauge), and the weight capacities will be lower, typically around 300-600 lbs. These are great for beginners or those who don't plan on lifting extremely heavy. Look for models that at least include basic safety spotter arms.
Mid-Range ($500 – $1,000): This is the sweet spot for most home gym enthusiasts. Here you'll find robust half racks and some excellent full power racks. The steel is typically heavier (11-gauge is common), weight capacities are much higher (often 1,000 lbs+), and you'll see more features like Westside hole spacing, numbered uprights, and better quality J-cups. These racks are built to last a lifetime for the vast majority of lifters.
High-End ($1,000+): This category includes premium power racks from top-tier brands. You're paying for the best materials, precision manufacturing, and a huge array of compatible attachments. These racks often feature thicker steel (3×3" uprights), custom color options, and specialized features. This is an investment for competitive powerlifters, athletes, or anyone who wants the absolute best without compromise.
Pro Tip: When budgeting, remember to factor in the cost of shipping, as well as essential items like a barbell, weight plates, and a bench. These can easily add several hundred dollars or more to your initial investment.
Must-Have Accessories to Maximize Your Rack

Your squat rack is the main course, but the accessories are what complete the meal. With a few key additions, you can transform your rack from a simple squat station into a comprehensive training hub that rivals any commercial gym.
1. A Quality Barbell and Weight Plates: This is non-negotiable. You'll need a standard 7-foot, 45-pound Olympic barbell. For plates, cast iron is a durable and budget-friendly option, while bumper plates (coated in thick rubber) are ideal if you plan on doing Olympic lifts or want to protect your floor.
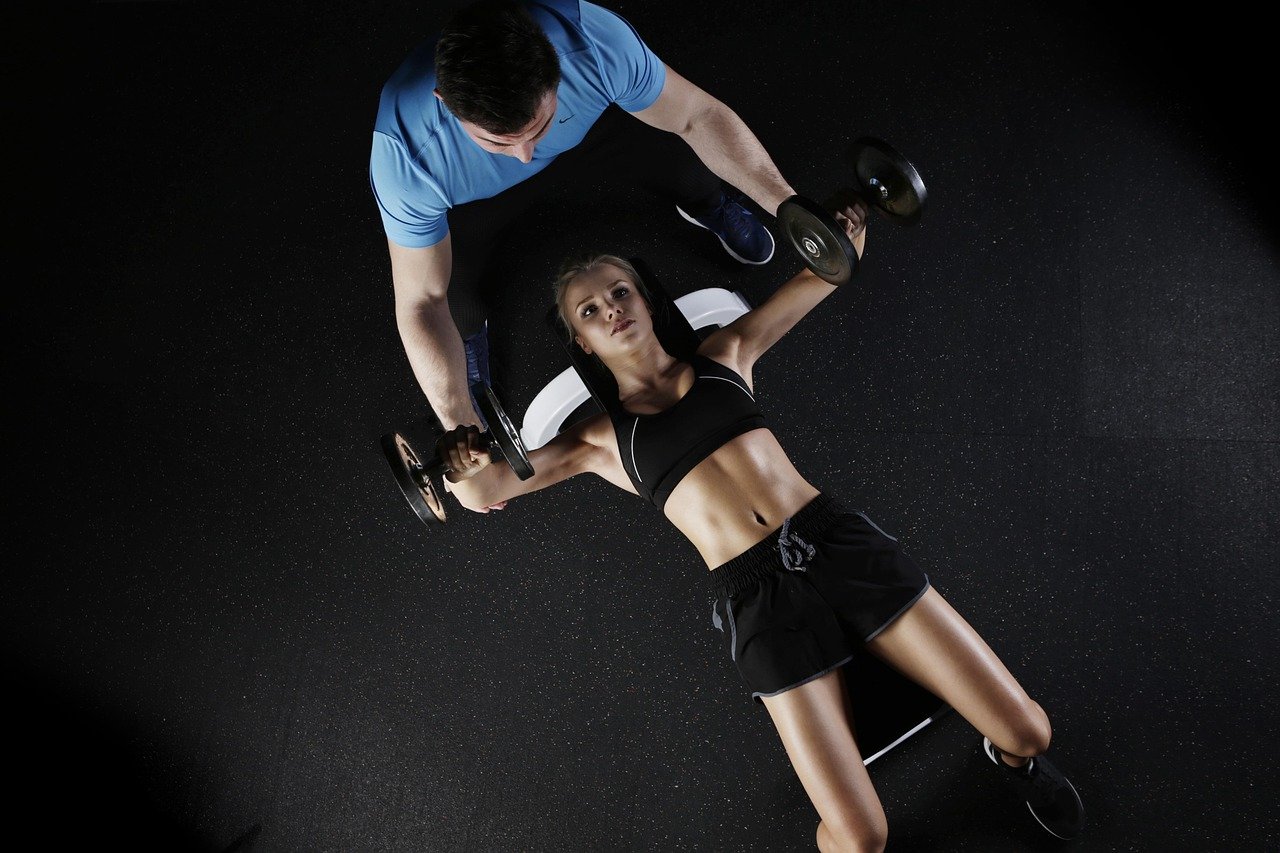
2. An Adjustable Bench: A sturdy, adjustable bench is crucial for exercises like the bench press (flat, incline, decline), seated overhead press, and supported rows. Look for one with a high weight capacity and minimal gap between the seat and back pads.
3. Pull-Up Bar: Most power racks and half racks come with a built-in pull-up bar, which is fantastic for building back and bicep strength. If yours doesn't have one, or if you have a squat stand, consider adding a multi-grip pull-up bar attachment to vary your grip and target different muscles.
4. Dip Station Attachment: Dips are one of the best exercises for building your chest, shoulders, and triceps. Many racks have compatible dip bar attachments that slide easily onto the uprights or safety arms, adding another powerful upper-body movement to your arsenal.
5. Landmine Attachment: This simple sleeve attachment holds one end of your barbell, allowing you to perform a huge variety of rotational and pressing exercises like landmine presses, rows, and anti-rotation movements. It’s a versatile and low-cost way to add dozens of new exercises to your routine.
More Than Squats: Unlocking Your Rack's Full Potential
Don't let the name fool you—your squat rack is a full-body training machine! Mastering a variety of exercises will ensure you build balanced strength and never get bored with your workouts. Here are some essential movements you can perform in your rack beyond the traditional back squat.
For Your Upper Body:
-
Bench Press: The cornerstone of chest development. Set the safety arms just above your chest for a built-in spotter. * Overhead Press (OHP): The ultimate shoulder builder. Set the J-cups at shoulder height and press from inside the rack for safety.
-
Inverted Rows: A fantastic back-building exercise. Set an empty barbell on the J-cups at waist height, hang underneath it, and pull your chest to the bar. * Pull-Ups/Chin-Ups: Use the integrated pull-up bar to build a wide, strong back and powerful biceps.
For Your Lower Body & Back:
- Rack Pulls: A variation of the deadlift where you pull the bar from an elevated position on the safety arms. This is great for building upper back and grip strength while reducing strain on the lower back.
- Front Squats: A quad-dominant squat variation that also challenges your core and upper back stability.
- Barbell Lunges: You can un-rack the barbell from a comfortable height to perform lunges, a great unilateral exercise for leg strength and balance.
Tracking your performance during these intense compound movements is key to making progress. Monitoring your heart rate with a reliable device like the Wahoo Fitness TICKR chest strap can help you understand your effort level, optimize your rest periods between sets, and ensure you're training in the right intensity zone for your goals, whether that's strength, hypertrophy, or endurance.
Keeping Your Gear in Top Shape: Squat Rack Maintenance
Your squat rack is a long-term investment, and with a little bit of care, it will serve you safely for decades. Maintenance is simple, quick, and essential for ensuring the longevity and safety of your equipment.
On a weekly basis, give your rack a quick wipe-down with a clean cloth. This removes sweat, chalk dust, and grime that can build up over time. Pay special attention to the knurling on your pull-up bar and the J-cups where the barbell makes contact.
About once a month, perform a quick safety inspection. Go around the entire rack and check that all nuts and bolts are tight. The vibrations from re-racking heavy weight can sometimes cause them to loosen slightly over time. Use a wrench to give them a snug turn if needed.
Don't over-tighten, but make sure there's no wobble or play in the connections.
While you're checking the bolts, also inspect the welds for any signs of stress or cracking. This is extremely rare on a quality rack, but it's a good habit to get into. Also, check your J-cups and safety arms for any significant wear and tear on the plastic liners that protect your barbell. If they become heavily damaged, they are usually easy and inexpensive to replace.
Building a Full-Body Workout with Your Squat Rack
With a squat rack as your centerpiece, you can create an incredibly effective and time-efficient full-body workout program. A popular and proven approach is the Push/Pull/Legs (PPL) split, where you train different muscle groups on different days. Here’s a sample week you could build around your rack:
Day 1: Push (Chest, Shoulders, Triceps)
- Barbell Bench Press: 3 sets of 5-8 reps
- Overhead Press (OHP): 3 sets of 5-8 reps
- Incline Dumbbell Press (using your bench): 3 sets of 8-12 reps
- Dips (using rack attachment): 3 sets to failure
- Tricep Pushdowns (if you have a cable attachment) or Skull Crushers: 3 sets of 10-15 reps
Day 2: Pull (Back, Biceps)
- Pull-Ups or Chin-Ups: 3 sets to failure
- Barbell Rows: 3 sets of 5-8 reps
- Rack Pulls: 3 sets of 3-5 reps
- Inverted Rows: 3 sets of 10-15 reps
- Barbell Curls: 3 sets of 8-12 reps
Day 3: Legs (Quads, Hamstrings, Glutes, Calves)
- Barbell Back Squats: 3 sets of 5-8 reps
- Romanian Deadlifts: 3 sets of 8-12 reps
- Barbell Lunges: 3 sets of 10-12 reps per leg
- Calf Raises (holding a dumbbell or with a barbell on your back): 4 sets of 15-20 reps
You can arrange this split throughout the week as you see fit, for example: Push (Monday), Pull (Wednesday), Legs (Friday), with rest days in between. This structure ensures you're hitting every major muscle group with heavy, compound movements, all made possible by your versatile fitness squat stand.
Frequently Asked Questions (FAQ)
What is the best type of squat rack for a home gym?
For most people, a half rack offers the best combination of safety, versatility, and a manageable footprint. It provides excellent stability and safety features for heavy lifting without taking up as much space as a full power rack. However, if you have the space and budget and prioritize maximum safety above all else, a full power rack is the ultimate choice.
How much space do I need for a squat rack?
You should plan for a space that is at least 8 feet wide to accommodate a 7-foot barbell with weight plates. You'll need a ceiling height of at least 8 feet, especially if you plan to do overhead presses or pull-ups. The depth will vary, but even for a half rack, you'll want at least 5-6 feet of depth to move around and use a bench comfortably.
Is a squat rack worth the investment?
Absolutely. A squat rack is arguably the single most valuable piece of fitness equipment you can own. It enables you to safely perform the most effective strength-building exercises, which are the foundation of any serious fitness program. The long-term value it provides in terms of strength, muscle gain, and health is well worth the initial cost.
Can I install a squat rack in an apartment?
Yes, but with considerations. You'll likely want a squat stand or a half rack with a stable base that doesn't need to be bolted down. Be mindful of your neighbors below; using rubber flooring and bumper plates can significantly reduce noise and vibration. A wall-mounted rack is generally not an option for renters.
Final Thoughts
Choosing the right fitness gear squat rack is a monumental step in taking control of your fitness journey. It's an investment in your strength, your health, and your discipline. By understanding the different types, prioritizing safety, and selecting the accessories that align with your goals, you're not just buying a piece of steel—you're building the foundation of your own personal performance center.
Take your time, assess your space and budget, and don't be afraid to invest in quality. The perfect rack is out there waiting for you. Once it's set up, the only thing left to do is get under the bar and start building a stronger version of yourself. Happy lifting!