


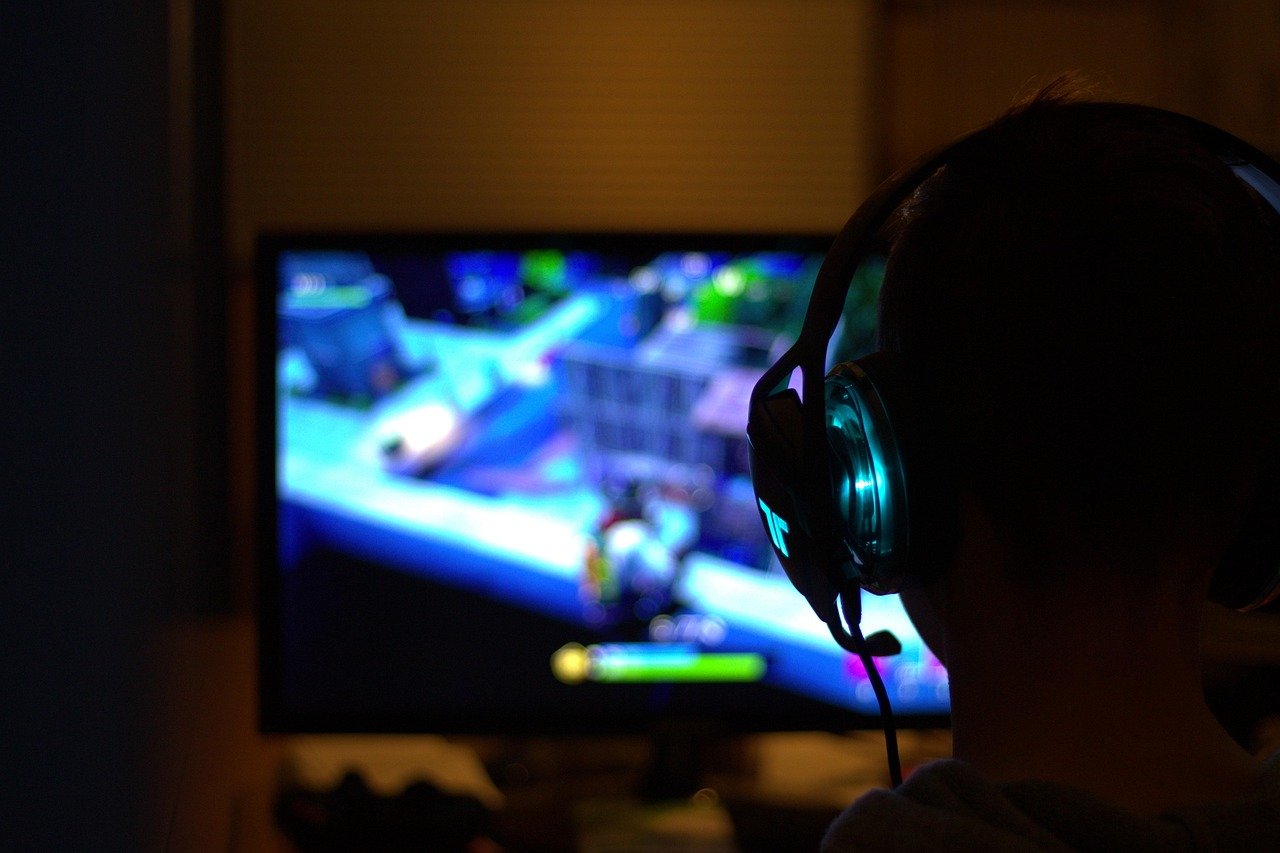
10 Best Controller Settings for Fortnite to Dominate in 2026
Finding the absolute best controller settings for Fortnite can feel like searching for a mythic llama. You know the perfect setup is out there, one that will transform your gameplay from clumsy to cracked, but with dozens of sliders and toggles, where do you even begin? A poorly optimized configuration can hold you back, making your builds slow and your shots miss, while a finely tuned setup can give you a massive competitive advantage. This guide will break down everything you need to know, step-by-step, to create the perfect Fortnite controller settings for your playstyle.
We'll move beyond just copying a pro player's setup and help you understand the why behind each adjustment. From sensitivity curves to deadzone calibration, you'll learn how to craft an optimal Fortnite controller config that feels like a natural extension of your hands, allowing you to build, edit, and aim with incredible speed and precision.
What You'll Learn
- Sensitivity is Personal: While we provide a pro-level baseline, the perfect sensitivity is unique to you. The key is finding a balance between fast building and precise aiming.
- Custom Binds are Essential: Moving crucial actions like Edit, Jump, or Switch Mode off the default face buttons is one of the biggest steps toward faster gameplay.
- Deadzone Calibration Prevents Drift: Setting your deadzone as low as possible without stick drift (usually 8-12%) makes your aim more responsive.
- Advanced Options are Your Friend: Don't be intimidated by the advanced settings menu. This is where you unlock granular control over your aim and movement.
- Practice Makes Permanent: Changing your settings requires time and practice. Use Creative mode aim trainers and edit courses to build new muscle memory effectively.
1. Cracking the Code: Understanding Sensitivity Settings
Your sensitivity settings are the heart and soul of your controller setup. They dictate how quickly your crosshair moves when you look, aim, and build. Getting this right is a delicate balance; too high, and your aim will be shaky and inconsistent. Too low, and you won't be able to turn on opponents or build fast enough to protect yourself.
The first step is to navigate to your settings and turn on "Use Advanced Options" under the Controller Sensitivity tab. This unlocks the granular control we need.
Look Sensitivity vs. ADS Sensitivity
Think of these as your two primary speed dials. Look Sensitivity (Look Horizontal Speed & Look Vertical Speed) controls your camera movement when you're not aiming down sights (ADS). This is your hip-fire, building, and general navigation speed. A higher look sensitivity allows for quick 180-degree turns and rapid building placements.
Most players keep their horizontal and vertical speeds identical for a consistent feel, typically starting around 40-50%.
ADS Sensitivity (ADS Look Horizontal Speed & ADS Look Vertical Speed) controls your camera movement while aiming down sights. This needs to be much lower than your look sensitivity to allow for precise micro-adjustments when tracking a distant opponent. A good starting point for ADS is between 8% and 13%. This range is slow enough for accuracy but fast enough to track moving targets.

Linear vs. Exponential: The Great Debate
Under Advanced Settings, you'll find the "Advanced – Look Sensitivity" section, which includes the crucial "Look Input Curve" setting. This changes how the game interprets your thumbstick movements.
- Linear: This provides a raw, 1:1 input. A small movement on your stick results in a small movement in-game, and a large movement results in a large one, with no acceleration. Many top builders and close-quarters fighters prefer Linear because it feels responsive and snappy, making piece control and flick shots feel more direct. However, it can make long-range aiming feel shaky without practice.
- Exponential (Expo): This curve adds a ramp-up effect. Small stick movements are less sensitive, allowing for smoother fine-tuning, while larger movements accelerate to the maximum speed. Players who prioritize precise, long-range assault rifle aim often prefer Expo. It can feel a bit less responsive up close but offers a smoother aiming experience overall.
There's no right answer here. Try both for a few days. If you find yourself over-correcting your aim constantly, Exponential might be for you. If you feel your aim is lagging and want more direct control, give Linear a shot.
2. The Blueprint for Victory: Optimizing Build & Edit Controls
In Fortnite, you're only as good as you can build and edit. Your settings in this area directly impact your ability to take high ground, create protective cover, and outplay opponents with clever edits. If you're still using the default settings, you're at a significant disadvantage. The goal is to make the transition between combat, building, and editing as fluid as possible.
First and foremost, you must be using the Builder Pro build configuration. This is the standard for a reason. It assigns each build piece (wall, floor, ramp, roof) to a specific button (L2, R2, L1, R1 on PlayStation), allowing you to place pieces instantly without cycling through them. If you haven't switched to this yet, do it immediately.
It's the single most important change you can make.
Next, let's focus on edit speed. The default setting requires you to press and hold a button to enter edit mode, which is far too slow. You need an instant edit button. This is achieved by creating a custom button layout and assigning "Edit" to a button that allows you to press it without taking your thumb off the right thumbstick (which controls your aim).
Common choices include the Left Stick (L3) or a back paddle on a pro controller. This simple change shaves precious milliseconds off every edit.
Finally, consider these two critical settings:
- Confirm Edit on Release: This setting automatically confirms an edit the moment you let go of the select button, removing the need for a separate confirm press. This can nearly double your editing speed. The downside is that it can lead to accidental confirms if you're not precise, but the speed benefit is so immense that most top players use it.
- Reset Edit: You need a fast way to reset a build piece to its original state. Many players bind "Reset" to one of the bumpers (L1/R1) and their edit select button to the other trigger, allowing for a lightning-fast reset by pressing both almost simultaneously.

3. Remap Your Way to the Top: Custom Button Mapping for Peak Performance
Creating a custom button layout is where you truly tailor the game to your hands. The core principle is simple: minimize the time your thumbs leave the thumbsticks. Your left thumb controls movement, and your right thumb controls aim. Every moment you move your right thumb to press a face button (like X or Circle on PlayStation) to jump or edit, you're sacrificing your ability to aim. This is why custom mapping is so powerful.
We've already discussed binding Edit to the Left Stick (L3). Let's take it further. A popular and highly effective remap is binding Jump to the Right Stick (R3). This allows you to jump and aim simultaneously, which is critical for hitting jump shots in close-quarters fights.
It will feel strange at first, but once you build the muscle memory, you'll wonder how you ever played without it.
So, if Edit is on L3 and Jump is on R3, where do their original functions go? Crouch/Slide (originally R3) can be moved to a face button, like X (PS) or A (Xbox), as it's less critical to aim while sliding. The original Edit button can be remapped to something less frequent, like Squad Comms or placing a map marker.
Pro Tip: If you have a controller with back paddles, like an Xbox Elite or a Scuf, you have a massive advantage. Assign your most important actions—Jump, Edit, Switch Mode, or Reload/Interact—to these paddles. This allows you to perform every critical action without ever taking your thumbs off the sticks, offering the ultimate competitive edge.
Here is a sample competitive button layout to get you started:
- Edit: Left Stick (L3)
- Jump: Right Stick (R3)
- Switch Mode: Triangle (PS) / Y (Xbox)
- Reload/Interact: Square (PS) / X (Xbox)
- Crouch/Slide: X (PS) / A (Xbox)
- Pickaxe: D-Pad Left
This is just a template. Experiment with what feels most comfortable and intuitive for you. The goal is to make your inputs as efficient as possible.
4. Feeling the Game: Is Controller Vibration a Help or a Hindrance?
Controller vibration is designed to enhance immersion. You feel the rumble when you fire a weapon, the shake when an explosion goes off nearby, or the jolt of taking damage. In a casual, story-driven game, this haptic feedback can be a fantastic feature that pulls you deeper into the world. However, in a fast-paced, precision-based competitive shooter like Fortnite, it's a different story.
For competitive play, the consensus among professional and high-level players is almost unanimous: turn controller vibration off. The reasoning is purely practical. The subtle (and sometimes not-so-subtle) shaking of the controller can interfere with your fine motor control. When you're trying to make a tiny micro-adjustment to your aim to land a headshot from 100 meters away, the last thing you need is your controller rumbling in your hands.
This interference can throw off your muscle memory and introduce a small but significant element of randomness into your aim. Every shot you take, every bit of damage you receive—it all creates physical feedback that can disrupt the precise movements required for high-level play. While you might feel slightly less "connected" to the action at first, the improvement in your aiming consistency will be well worth it. Go into your controller settings and set Vibration to "Off." Your accuracy will thank you.
5. Mastering the Machine: Configuring Aim Assist for Pinpoint Accuracy
Aim assist is one of the most discussed and often misunderstood features of controller gameplay. It is not an aimbot. Aim assist is a system designed to help bridge the precision gap between a mouse and a thumbstick. It primarily works in two ways: by slowing down your crosshair when it passes over an enemy target and by providing a slight rotational pull to help you stay on target as they move.
To get the most out of it, you need to ensure your Aim Assist Strength is set to 100% in the advanced settings. Setting it any lower is simply giving yourself a disadvantage. There is no secret benefit to using a lower strength; you want the maximum assistance the game provides.
How aim assist feels is heavily influenced by your Look Input Curve. On Linear, aim assist feels very strong and "sticky" in close-quarters combat. This is because there's no input delay, so the slowdown effect engages instantly, which can be a huge help in frantic shotgun battles. On Exponential, the aim assist feels less jarring and smoother, particularly at mid to long range, making it easier to track targets with an assault rifle without the slowdown feeling overly aggressive.
Learning to work with aim assist is a skill in itself. Don't just rely on your right stick for all your aiming. A crucial technique is to use your left stick (movement) to make fine adjustments. By strafing left and right, you can move your character and, by extension, your crosshair, in tiny increments.
This left-stick aiming, combined with the slowdown from aim assist, allows for incredibly precise tracking that is difficult to achieve with the right stick alone.
6. Eliminating Drift: How to Adjust Deadzone Settings for Flawless Control
Have you ever put your controller down, and your character or camera starts moving on its own? That's stick drift, and the deadzone setting is how you fix it. The Controller Deadzone is a small, central area of the thumbstick where input is not registered. This prevents tiny, unintentional movements from worn-out or overly sensitive sticks from affecting your gameplay.
Your goal is to set the deadzone as low as possible without experiencing any stick drift. A lower deadzone means your stick is more responsive; the game will register your input with less physical movement. A deadzone that's too high will create a noticeable "dead" area, forcing you to move the stick further before your aim begins to move, which can make small adjustments feel sluggish and unresponsive.
Here’s the best way to find your perfect deadzone:
- Go into your controller settings and look for the Left Stick Deadzone and Right Stick Deadzone options.
- Lower the Right Stick Deadzone (which controls your aim) all the way down to the minimum, 5%.
- Go into a game or Creative mode and simply don't touch the right stick. Watch your screen. Does your crosshair move on its own? If it doesn't, you have a perfect stick! If it does, go back into the settings.
- Increase the Right Stick Deadzone by 1% and test again. Repeat this process until the drift stops completely.
- Once the drift is gone, add one more percentage point for safety. For most controllers, this sweet spot will land somewhere between 8% and 12%.
- Repeat the exact same process for your Left Stick Deadzone (which controls movement).
Setting this correctly ensures your controller is as responsive as it can be without introducing unwanted movement, giving you crisp, immediate control over your aim.
7. Building Your Pro Setup: Custom Layouts for Competitive Dominance


Now it's time to put all the pieces together to create a cohesive, competitive setup. A pro-level configuration isn't just about one setting; it's about how all the settings work in harmony to allow for fast, efficient, and intuitive gameplay. The overarching goal is to enable you to perform any action—building, editing, shooting, moving—without them interfering with one another.
There are two main physical approaches high-level players use to achieve this: playing Claw or using Paddles.
- Playing Claw: This is a controller grip where you place your right index finger over the face buttons (X, O, Square, Triangle) and your middle finger on the trigger. This allows you to press face buttons without ever taking your thumb off the right stick. It's highly effective but can be uncomfortable and even cause hand strain if you're not used to it.
- Using Paddles: Pro controllers, like the Xbox Elite Series 2 or Scuf controllers, feature paddles on the back. These can be mapped to any button, allowing you to perform actions like jumping and editing with your ring or pinky fingers. This achieves the same goal as claw—keeping your thumbs on the sticks—but with a much more ergonomic and comfortable grip.
Regardless of your physical grip, your settings should reflect this goal of maximum efficiency. Here’s a summary of a well-rounded competitive layout:
| Setting Category | Recommended Setting | Why It Works |
|---|---|---|
| Input Curve | Linear or Exponential | Personal preference: Linear for raw speed, Expo for smooth aim. |
| Look Sensitivity | 40% – 50% | Fast enough for building and turning, but controllable. |
| ADS Sensitivity | 8% – 13% | Slow enough for precise long-range tracking. |
| Build/Edit Multiplier | 1.8x – 2.2x | Speeds up building and editing without affecting combat aim. |
| Deadzones | 8% – 12% | Lowest possible without stick drift for maximum responsiveness. |
| Key Binds | Edit on L3, Jump on R3 | Keeps thumbs on sticks for simultaneous aiming and action. |
| Vibration | Off | Prevents physical interference with fine motor aim control. |
| Confirm Edit on Release | On | Drastically increases editing speed by removing a button press. |
This table represents a fantastic starting point. Load these settings in, head into Creative mode, and start tweaking each value up or down by 1-2% until it feels perfect for you. This is your optimal Fortnite controller config.
8. Thumbstick Tactics: Best Practices for Grip and Placement
How you physically interact with your thumbsticks can have a surprising impact on your control and precision. While it might seem minor, optimizing your thumb placement and even modifying your sticks can lead to noticeable improvements in your aim. Most players use the default sticks that come with their controller, but there's a world of customization available that can enhance your gameplay.
Consider your thumb grip. Do you place the flat pad of your thumb directly on top of the stick, or do you use the edge of your thumb for control? There's no right or wrong way, but being conscious of it can help. A flat-thumb grip often provides more stability for smooth tracking, while an edge grip can allow for quicker, snappier movements.
One of the most popular and effective hardware modifications is using thumbstick extenders, like those made by KontrolFreek. These plastic grips snap onto your existing thumbsticks to make them taller. A taller stick increases the arc radius of your movement, meaning you have to physically move the stick further to cover the same distance in-game. This increased range of motion gives you much finer control over small adjustments.
Many players use a taller extender on their right (aiming) stick for precision and keep the left (movement) stick at its standard height for comfort and quick directional changes.
Pro Tip: If you invest in a pro controller, many come with interchangeable thumbsticks of different heights and shapes (concave vs. convex). Experiment with these options. A common pro setup is a tall, concave stick for the right thumb to lock it in place, and a short, domed stick for the left thumb for smooth movement.
9. Choosing Your Weapon: Recommended Controller Types for Fortnite
While you can certainly become a great player on a standard controller, specialized "pro" controllers offer features that provide a tangible competitive advantage. The hardware you use is a key part of your overall setup. Let's break down the main options.
Standard Controllers (PlayStation 5 DualSense, Xbox Series X|S Controller)
These are the workhorses of the console world. They are reliable, comfortable, and perfectly capable of high-level play. Their biggest limitation is the lack of back paddles, which forces you to either play claw or accept taking your thumbs off the sticks for certain actions. If you're on a budget or just starting, these are fantastic options.
Pro Controllers (Xbox Elite Series 2, Scuf Impact/Instinct, Razer Wolverine)
This is where things get serious. Pro controllers are defined by their advanced features, including:
- Back Paddles: As discussed, this is the biggest benefit. Mapping key functions to paddles is a huge performance booster.
- Trigger Stops: These are physical switches that shorten the pull distance of your triggers, allowing you to fire semi-automatic weapons faster.
- Interchangeable Components: Most pro controllers allow you to swap out thumbsticks and D-pads to fit your hand size and preference.
- On-board Profiles: You can save different button layouts and sensitivity profiles directly to the controller and switch between them on the fly.
These features come at a premium price, but if you're serious about competitive Fortnite, the investment in a controller with back paddles can make a world of difference in your gameplay.
10. From Theory to Practice: The Best Ways to Master Your New Settings
Dialing in the perfect settings is only half the battle. Now comes the most important part: practice. When you change your controls, especially something as fundamental as your sensitivity or button layout, your brain and hands need time to adapt. It will feel awkward and slow at first—that's completely normal.
Don't get discouraged and switch back after one bad game. You need to commit to the new settings and build new muscle memory.
The most efficient way to do this is in Fortnite's Creative mode, away from the pressure of a real Battle Royale match. Dedicate 15-30 minutes to a warm-up routine in Creative every time you play. Focus on these areas:
- Aim Training: Load into an aim training map (search for codes online, Skaavok's is a classic). These maps have drills for tracking, flick shots, and target switching that will help you get a feel for your new ADS sensitivity.
- Editing and Building: Find an edit course or a piece control map (Raider464 makes some of the best). Run through the drills repeatedly to build speed and consistency with your new edit and build binds. Don't worry about being fast at first; focus on being smooth and accurate.
- Free Building: Go into your own empty Creative island and just build. Practice 90s, ramp rushes, and high-ground retakes to get comfortable with the flow of your new build sensitivity.
Creating a comfortable and focused practice environment is also key. A supportive gaming chair like those from Secretlab or TechniSport can prevent fatigue and keep you focused during long sessions. For clear audio cues to hear enemy movements—a critical skill—a quality headset like one from BASN Audio is essential for honing your game sense alongside your mechanical skill.
Frequently Asked Questions (FAQ)
What are the best Fortnite settings for controllers?
The best settings are subjective, but a great starting point for competitive play includes using the Builder Pro layout, turning on Advanced Options, setting Look Sensitivity around 40-50%, ADS Sensitivity around 8-13%, and a Build/Edit multiplier of 1.8x-2.2x. Additionally, mapping Edit to your Left Stick (L3), using Confirm Edit on Release, and setting your deadzone as low as possible without drift (typically 8-12%) are all crucial adjustments.
How can I aim better with a controller in Fortnite?
Improving your aim involves several factors. First, find an ADS sensitivity that allows for precise micro-adjustments (8-13% is a good range). Second, understand and learn to work with aim assist by using left-stick strafing for fine-tuning. Finally, consistent practice in Creative aim training maps is non-negotiable.
This builds the muscle memory required for consistent and accurate shots.
What is the best sensitivity for Fortnite?
There is no single "best" sensitivity, as it depends heavily on personal preference and whether you use a Linear or Exponential input curve. However, a great starting point for most players is a Look Sensitivity of 42% Horizontal and 42% Vertical, with an ADS Sensitivity of 10% for both. From there, adjust in small increments until it feels perfect for your aiming and building style.
How do I get 100% Aim Assist in Fortnite?
To ensure you're getting the maximum aim assist benefit, go into the "Advanced – Sensitivity" section of your controller settings. Scroll down to the "Advanced – Miscellaneous" subsection and make sure that "Aim Assist Strength" is set to 100%. Any value lower than this will reduce the effectiveness of the aim assist system.
What settings do Fortnite pros use?
While specific sensitivities vary wildly from one pro to another, they almost all share a few common principles. They use custom button layouts (often with paddles or a claw grip) to keep their thumbs on the sticks. They use low deadzones for maximum responsiveness and have settings like Confirm Edit on Release enabled for speed. They spend hours fine-tuning their settings and even more hours practicing with them in Creative mode.
Final Thoughts
Crafting the best controller setup for Fortnite is a journey of experimentation and practice. This guide provides a professional-grade foundation, but the final, perfect settings are the ones you fine-tune to match your own unique style. Don't be afraid to spend time in the settings menu and even more time in Creative mode, building the muscle memory that will turn these settings into second nature.
Remember the core principles: keep your thumbs on the sticks, make your edits instant, and find the sensitivity that balances speed with precision. By applying the concepts we've covered, you'll build a powerful foundation for improvement. Now go out there, apply what you've learned, and start claiming those Victory Royales!
